ZENIQ Hub
Introduction
Congratulations on your purchase of the ZENIQ Hub!
The ZENIQ Hub is more than just a simple piece of hardware: it´s also a portal to international digital investments and to a range of associated services. And, last but not least, it can be your ticket to revolutionary events to come: fully decentralized tokenization, creating completely new forms of financing in digital asset management, international project and asset participation.
Find all relevant information on how to handle your ZENIQ Hub on this site.
Initial Setup
For detailed instructions on how to set up the ZENIQ hub.
Activation
For detailed instructions on how to activate the ZENIQ hub.
1 INITIAL SETUP
Initial Setup
NETWORK
When using the ZENIQ Hub for the first time, please go to First Start-Up of the Device and follow the instructions there.
After properly setting up the ZENIQ Hub, turn on the device by pressing the power switch. Booting may take a little longer the first time you use your ZENIQ Hub. During this process you will see the ZENIQ logo on your display. After a short time, the start menu will appear.
The next step is to make sure that your ZENIQ Hub has a stable internet connection, via Wi-Fi or LAN. To establish this, go to the menu item “Network” on your ZENIQ Hub and choose your available internet connection.
Select your desired option, Wi-Fi or LAN.
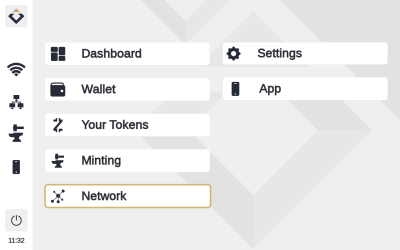
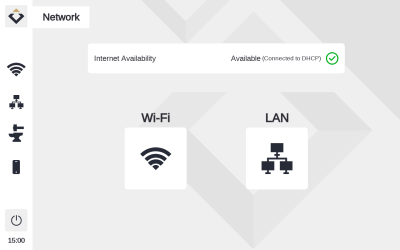
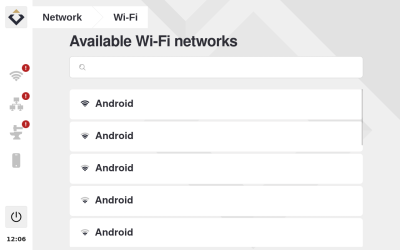
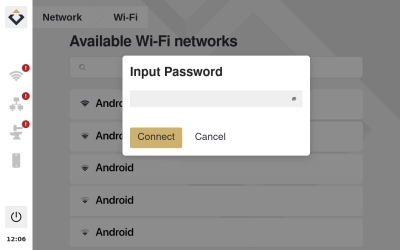
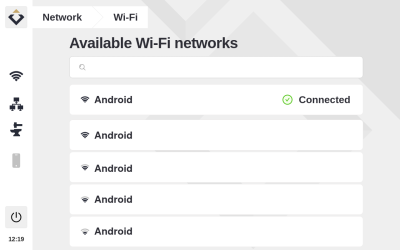
Network
a) Wi-Fi
In case you choose a Wi-Fi connection to the internet, you’ll have to provide the ZENIQ Hub with information about the SID and a password to be able to use it. Follow these steps to ensure a stable connection to the Wi-Fi internet:
- Select your preferred Wi-Fi network (keep your login credentials prepared).
- Enter the password and press the connect button.
- The connection you selected should now be marked with a green tick, indicating it has been confirmed.
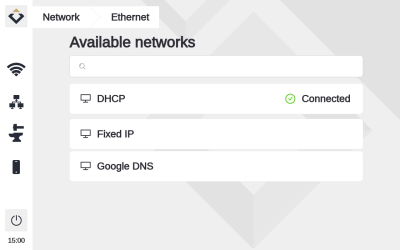
Network
b) LAN
In case you choose a LAN connection to the internet, plug a Type RJ45 network cable into the network port of your ZENIQ Hub beside the power slot. Plug the other end of the network cable into your network (network socket, patch panel, switch, or network plug). Make sure that the network cable is fixed by the little snappers and that it can’t slip out.
Now you should see a green tick on your screen, indicating that your connection has been confirmed.
ZENIQ Hub
ACTIVATION OF MINTING
You must activate your device in order to be able to use all the functions of the ZENIQ Hub, such as the minting function.
CAUTION: Before activating the ZENIQ Hub, make sure to check the correctness, completeness and integrity of the product. Due to the irreversible nature of blockchain protocols, activation of the ZENIQ Hub, too, is irreversible. Once activated, your product can no longer be replaced and becomes unusable for third parties, including ZENIQ itself.
If you have any reason to suspect that the ZENIQ Hub may have a material defect or a production defect (e.g. visual damage or smoke), do not activate the ZENIQ Hub. Instead, contact your seller, stating the serial number of the ZENIQ Hub.
To activate your ZENIQ Hub, please contact your seller.
